Favorite Things: A Picture a Day


EPL Bench_Fotor.jpg

This is a bench! 

Many years ago I read an article about Carly Simon that I have thought about over the years but have never been able to see it through. In it she shared an activity that she incorporated into her daily routine. Every day she was sure to snap a picture using her polaroid camera. The pictures she took that were chosen for the article were candid family photos. I haven’t been able to recover my original article, but I remember her describing the daily picture taken over time became a photo essay of her life and the people in her life. What a lovely idea.

I just haven’t been able to make it a daily habit until now. So far this year… all 12 days of it!

I haven’t decided what to do with the picture a day but for now I am enjoying taking it!

img_2990

My picture taken today! 

Favorite Things: Color Part 2


cm-turkey-cake-finished

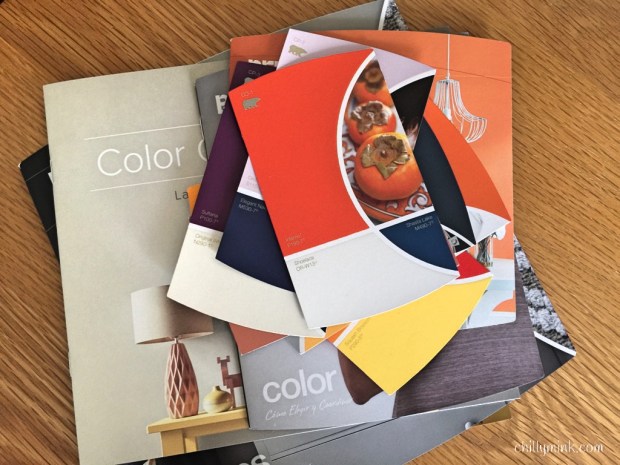
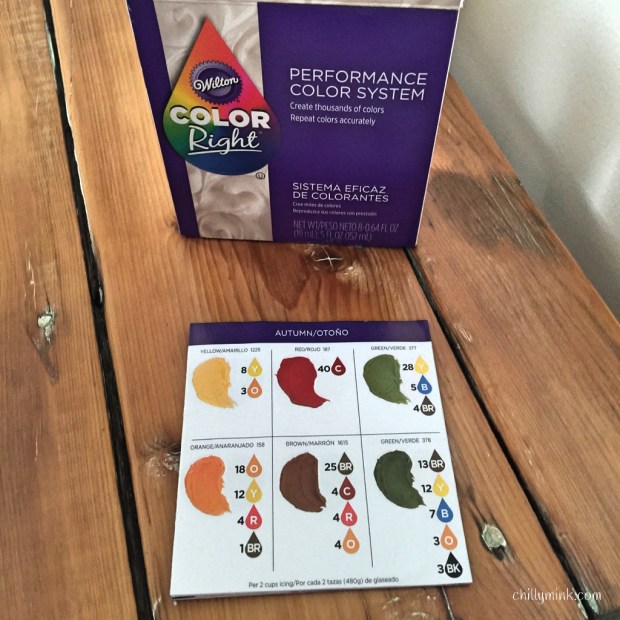
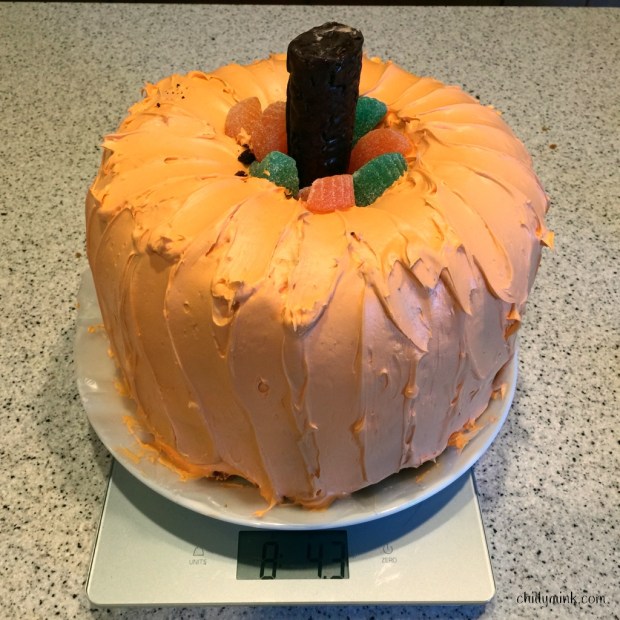
Large cakes and color are becoming a new theme! Last month I found the Wilton Performance Color System for baking and made a pumpkin cake for Halloween that was fun to make!

cm-pumpkin-cake-fotor

Now Thanksgiving has provided an opportunity to use the color chart again! Once again I went back to my old recipes and found a Turkey Cake recipe that I had made years ago. This cake, like the Pumpkin Cake, was the actual size of a roasted turkey.

I remembered that the last time I made it, I was disappointed with the final color of the turkey. It looked raw. Now that I had my color chart, I was hoping it would look more realistic this time. The recipe is from a back issue of Family Fun, which was my favorite magazine when my children were young.

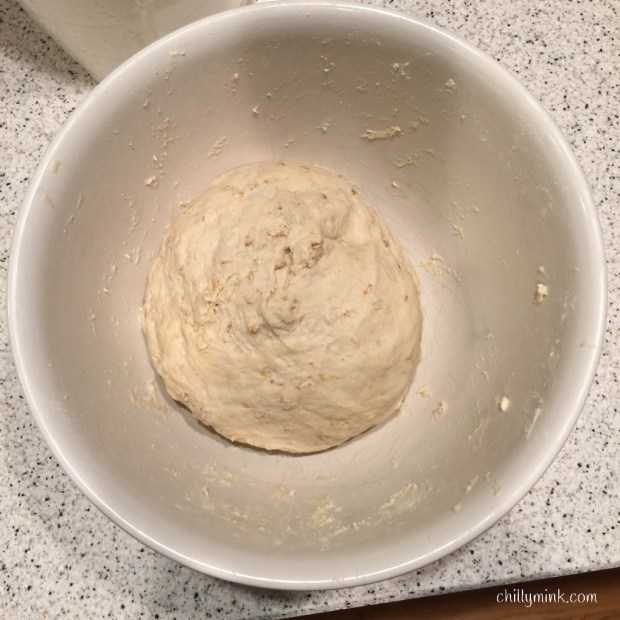
You bake 2 vanilla cakes in round bowls. They take longer than when they are baked in 9 inch round pans.

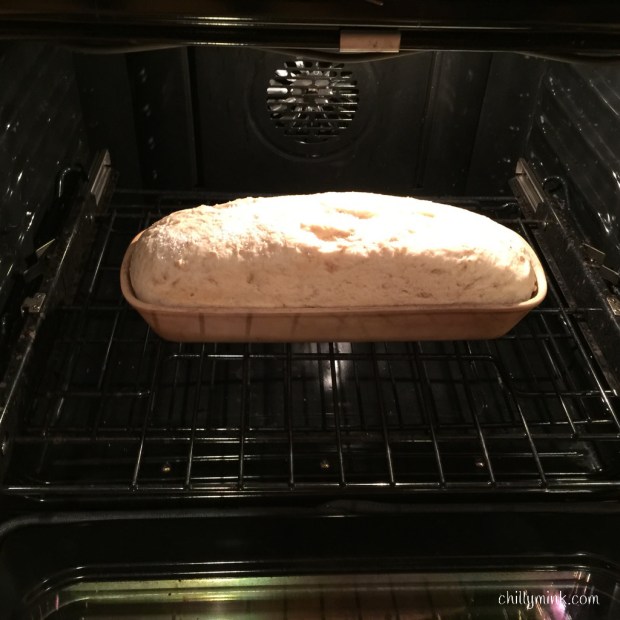
Then bake 1 spice cake in a 9-by-5-inch loaf pan. Similarly it takes longer in the loaf pan than a round pan. I kept checking for doneness but I think they took about 40 minutes. The round bowls were closer to an hour. I just kept checking with a cake tester.

cm-turkey-cakes-no-frostingfotor

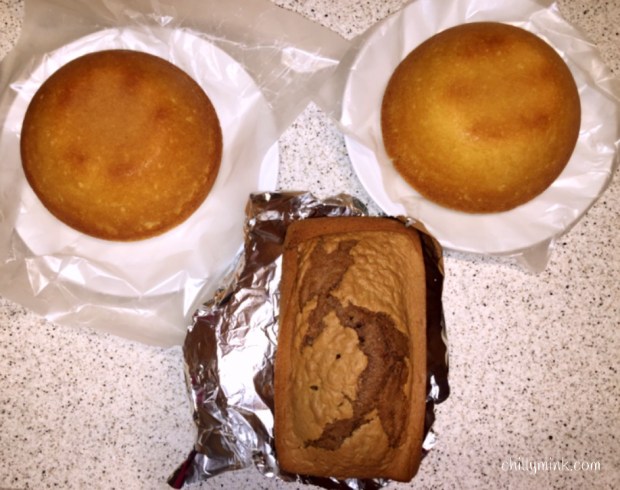
Once the cakes were finished I let them cool on a rack for 10 minutes and then popped them out to finish cooling.

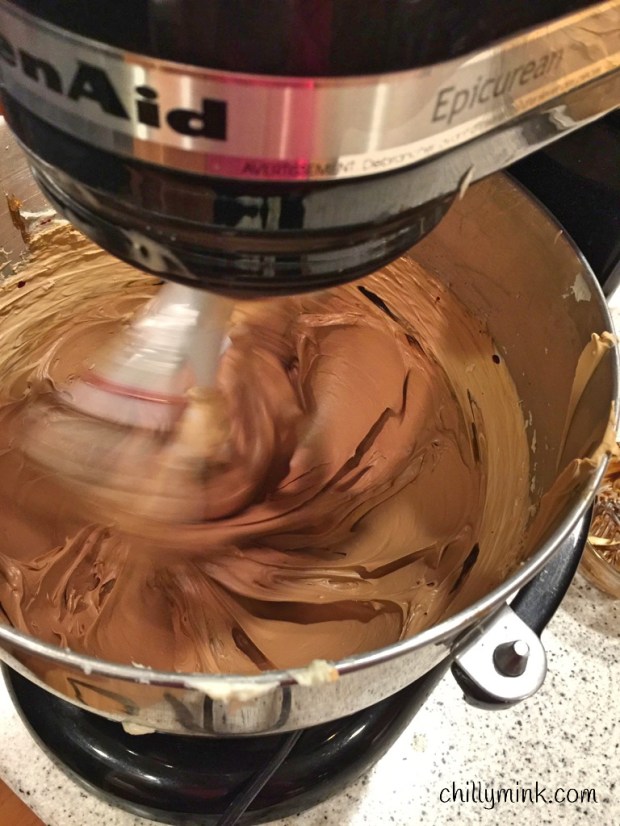
This cake takes a lot of frosting. I used close to 4 cans of store bought buttercream frosting.

Before assembling the pieces I put the cake in the freezer for 15 minutes.

cm-turkey-cake-body-frosting_fotor

Basically you make a very large Whoopee Pie!

cm-turkey-cake-frosting-glue

This is an important step- secure the “Whoopee Pie” with a dollop of frosting on the platter.

turkey-cake-spice-cake-cut-fotor

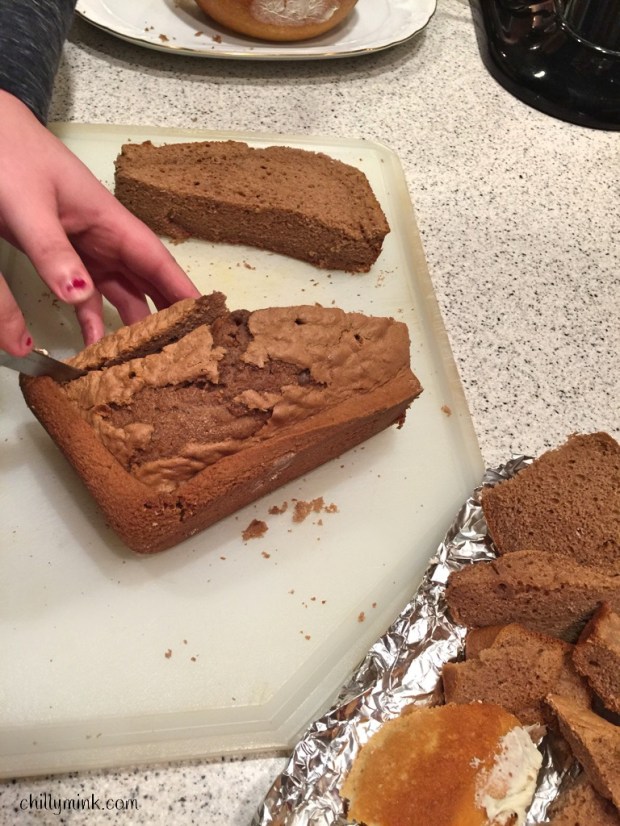
Trimming the legs out of the spice cake is tricky. Just keep trimming until it looks like a leg! Frosting hides a lot.

cm-turkey-cake-assembled-s-frosting_fotor

I used coffee stirrers (wooden ones) to attach the legs to the body (it is no longer a very large Whoopee Pie!)

cm-turkey-cake-s-frosting-front-view_fotor

It’s starting to look like a turkey. I also think it looks like a Harry Potter Snitch or Captain America’s mask.

cm-sand-food-coloring

Now to the color- I used “Sand” for the base layer of frosting.

cm-turkey-cake-food-color-w-bottle_fotor

cm-turkey-cake-first-color-mix

Mixing 4 cans of frosting required my large mixer.

cm-turkey-cake-color-highlight_fotor

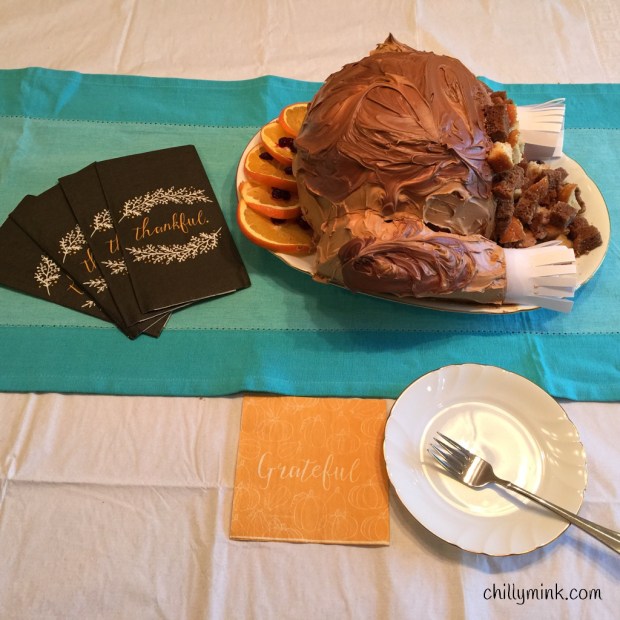
Once I frosted the cake with the base “Sand” color I added more brown and black to the remaining frosting until it turns a few shades darker. I added the darker color to the parts of the “turkey” that would darken as it cooks.

cm-turkey-cake-finished

Adding the oranges and paper caps added a touch of authenticity!

cm-turkey-cake-closeup-cut

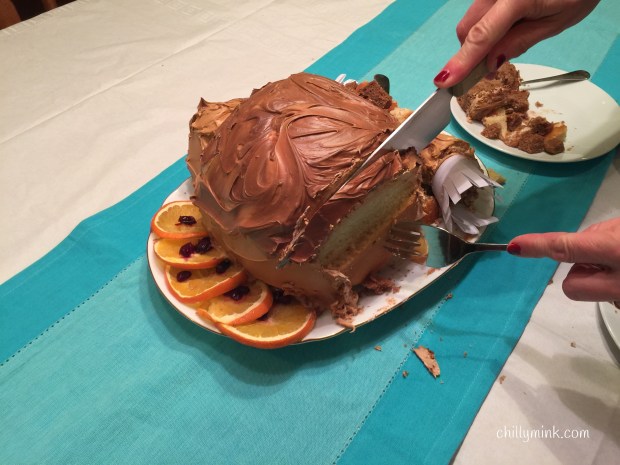
It was fun to carve it like a turkey!

cm-turkey-cake-3-pieces-cut-_fotor

Happy Thanksgiving!

cm-turkey-cake-set-table

Favorite Things: Bread

cm-bread-homemadefotor

I was going to title this Favorite Things: Homemade Bread, but who am I kidding– I like store-bought bread too.

Baking bread has been a long tradition in my family. My grandmother Mimi was known for her rye bread. It was delicious. My mother is known for her rolls- dinner rolls and sweet rolls. They  are delicious.

My daughter is carrying on the tradition. She has been making bread for a couple of years now, to the point where we hardly buy store bought bread anymore. I decided it was time that I learned how to make it myself since she is planning on moving soon.

She makes a delicious buttermilk bread. Here are pictures of my first attempt. The full recipe is at the end of the post!

cm-yeast-proofing_fotor

Yeast is proofing and oats are soaking

cm-mixing-the-doughcm-kneading-doughcm-dough-in-bowlcm-bread-risingcm-dough-in-stonecm-bread-in-stone-with-cover

cm-bread-in-stone-risen

Ready for the oven

cm-bread-in-oven

cm-bread-finished

It turned out!

Buttermilk Oat Bread

  • Servings: 1 loaf
  • Difficulty: moderate
  • Print

A hearty bread that's great for toasting.


This recipe requires several hours of rising, so make sure you plan accordingly.

Ingredients

  • 1 tablespoon active dry yeast
  • 2 teaspoons sugar
  • ½ cup warm (~100°) water
  • 1 tablespoon kosher salt
  • 1 cup old-fashioned rolled oats
  • ½ cup butter
  • 1 cup buttermilk
  • 1/3 cup honey
  • 1 ½ cup whole wheat flour
  • 2 ½cup all-purpose flour

Directions

  1. In a small bowl, mix together yeast, sugar and water. Let sit as you continue. The yeast should foam up.
  2. In a large bowl, mix together oats and salt. Set aside.
  3. In a small saucepan, melt butter. Add buttermilk and honey and heat until warm, but not so hot that the buttermilk separates. Pour the mixture over the oats, stir, and let sit for 10 minutes.
  4. After 10 minutes, the oats should be softened. Add the flour and yeast mixture. Mix until a dough is formed. You may need to add more buttermilk or flour to develop a good consistency. The dough should be a little sticky but well formed.
  5. Roll the dough out onto a lightly floured surface. Knead the dough for several minutes until it is firm but still elastic. Put the dough back in the bowl, cover with a towel, and let rise for 1 hour.
  6. Punch the dough down a bit and take it out of the bowl. Form it into a loaf and place it in a loaf pan. I use a stone cooker with a cover, but if you don’t have a cover, simply use a towel. Let rise for another hour.
  7. Uncover the loaf and sprinkle the top with a light coating of kosher salt. Set the oven for 400°.
  8. If using stoneware, put the bread in with the cover on for 25 minutes, then remove the top and bake for another 10-15 minutes until the top is nicely browned. If you don’t have the covered stoneware, bake for 20 minutes, then cover with a sheet of aluminum foil to keep the top of the bread from burning and bake for another 10 minutes.
  9. Take bread out of oven and let cool completely before cutting.
  10. Enjoy!

Favorite Things: Color

cm-color-chips_fotor

When I go to Home Depot or Lowes I usually come home with paint chip colors. I can’t help myself. Now they have cards with color combination suggestions, which has made the problem even worse. I want to do something with them, but I’m just not sure what yet.

So when I came across the Wilton Performance Color System with its color formula chart I bought it. I wasn’t sure when I was going to bake something that required such fine tuning of colors, but if and when I did, I was going to be prepared!

cm-wilton-food-coloring_fotor

Halloween provided that opportunity.

I found my old recipe for a pumpkin cake (actual size) that I was able to use my formula chart to calibrate orange- dare I say Pumpkin Orange!

cm-bundt-cakes-fotor

You start with 2 Bundt cakes

cm-pumpkin-cake-on-scale-fotor

Weight: 7.43 pounds (plate weight 1 pound)

cm-pumpkin-cake-fotor

Smile needs work…

cm-pumpkin-cake-with-pumpkin_fotor

Hope you had a fun Halloween! 

I can’t wait to make a Thanksgiving Turkey Cake.

Variations on a Theme: Doors

cm-corning-bull-doorknocker_fotor

I am noticing that themes exist within the towns I have visited. Some are organized, like the Miles of Mules project, and others seem to be more of a neighborhood “thing,” like the mailboxes on a Key Largo street that were all fantastic!

After we left the Corning Museum of Glass, my husband and I decided to check out the town of Corning and maybe get an early dinner. As we walked up and down the downtown street I kept stopping to admire the front doors.

This is what I saw.

cm-corning-orange-doorimg_1682

Orange Door

cm-corning-lime-green-doormg_1685

Green Door

cm-corning-door-blue-62fotor

Blue Door (with cool MAIL door)

cm-corning-wood-doorimg_1692_fotor

Wood Door

cm-corning-skinny-door

Skinny Door

cm-corning-door-geeseimg_1695_fotor

Wide Door

cm-avocado-door_fotor

Avocado Door!


I’ll drink to that- where is that coaster of mine?

Destination Inspiration: Corning Museum of Glass

I’m not sure but I think I may be a genius.

(Well, that may be an overstatement but for a moment I allowed myself to think that. It may just be that I am topical! )

Let me explain.

We went to the Corning Museum of Glass in Corning, New York this past weekend, and I experienced a moment when I was wonderstruck, astonished and, yes, reverential.

cm-awe

Contemporary Art + Design Wing Entrance


My pictures couldn’t fully convey the experience. When I  turned the corner to enter the Contemporary Art +Design Wing,  it took my breath away. As Kristy Wenz described, “with its stark white walls and abundance of natural light, the glass art stuns and radiates.”

I was stunned. (Well said, Ms. Wenz.)

When I came home from our trip, this was waiting for me.

CM Parade Awe Cover.jpg

And that’s when I wondered if I might just be a genius, because  I haven’t stopped telling people, including total strangers on our trip, to go to this museum and see it for themselves. Turns out, I wasn’t just giving them travel advice, I was enriching their lives. Go figure!

My visit reinforced how sometimes small things bring about grand feelings. The miracle of people throughout history taking liquid sand and using it to create beautiful, purposeful objects was inspiring and heartwarming.  Taking the time and effort to beautify everyday objects elevates us all.

cm-bc-glassfotor

Ancient glasswork

cm-stained-glass_fotor

As I wandered through the exhibits, I wanted to go out and make things. I loved the patterns, colors, and the care that went into the pieces and the museum itself.

cm-quilt-pattern-glass_fotorcm-stacked-pink-glasscm-9-square-glass

cm-curved-bench

Of course, I found a bench!

cm-face-fotor

cm-blowing-glass-fotor

Glass blowing

I plan to respond to the call and continue to be awed!

In Production: Beta Testing Results In!


blog-word-art-template

Turns out beta testing is very fun.

Let’s start from the beginning…

Test Subject: Avocado Delight

CM coasters Fotor

Brand Spanking New

cm-martini-topview

“Tequini” from See, Mix, Drink by Brian D. Murphy– Delicious!

cm-poolside-martini

“Poolside Bar”

cm-coffee

cm-water-addirondack-chairscm-lsp-strohs

cm-coaster-in-lake

Oops! 

cm-coasters-water-dock

Drying out

Check out this slideshow to see the places we beta tested our coasters. Secondary results indicate that all restraurants were terrific! We highly recommend each of them if you visit Northern Michigan!

This slideshow requires JavaScript.

It was fun to see the reaction of our servers when they brought out our drinks- They universally noticed them and liked them!


In summary, the coasters were up for the thorough testing we gave them. They traveled well, supported our drinks well, got the right kind of attention and even survived a dip in a lake!

Test Subject 2: Alter Ego

 I saw these icons on my brother and sister-in-law’s  Netflix opening screen. Each person in the household had their own Netflix profile picture that they chose. I thought it would be fun for each person to be represented on a coaster so I made these as a birthday present for my wonderful sister-in-law.

collage_fotor

cm-netflix-wylie-original-fotorcm-netflix-wylie-closeupfotor

Testers reported that the coasters were being used and holding up to the rigors of heavy drinking…no, I don’t think that is what was said. They work well.

Final results: Success!  

(Also, testing indicates that I tend to order wine and my husband orders beer.)

If you would like to do your own “product testing” check out our Etsy Store!


Variations on a Theme: Barn Art

doubletake

Driving along a Northern Michigan country road, I not only saw an adorable mailbox and whirligig, but I also saw a beautiful barn with a quilt block painted on it. Since I recently learned about barn quilts during a lecture at my quilt guild, I was thrilled to see one in person.cm-michigan-barn-quiltfotor

This wasn’t the first barn quilt I had ever seen though.

cm-oregon-barn

Last summer I saw a barn with quilt blocks painted on it in Oregon, but I didn’t know at the time this was a movement in rural communities throughout the U.S. and Canada.  I just thought I was looking at a really cool thing for someone to do- which of course it is!

Stay tuned for more art on very large canvases- buildings!

cm-quilt-barn-mosiac-fotor


Variations on a Theme: Marvelous Michigan Mailboxes


cm-horse-crossing_fotor

I was driving with my husband through Northern Michigan a couple of weeks ago, and I was struck by how even in what I would consider the “middle of nowhere” there were fun mailboxes to be found!

This is what I saw:

cm-cowboy-whirlagig

My first whirligig!

cm-horse-trailer-l-view_fotorcm-horsetrailer-r-view

I am not sure I would have noticed this mailboxes if I hadn’t started noticing them. How could that be? I think I would have missed it!

cm-pump-mailbox

I think I would have noticed this one!

Favorite Things: My Own Mini Masterpiece

CM landscape portrait

A couple of years ago there was a Facebook challenge to post your favorite masterpiece- or maybe we were given a name of an artist and had to choose a painting of theirs for everyone to enjoy. Whatever it was, I liked the idea. I liked seeing artists and their famous works that I never knew of. I also liked seeing what my friends chose.

That was when I decided that one of my favorite paintings was the portrait of Juan de Pareja by Velazquez.  The more I looked at it, the more I liked it. He looks proud and beautiful (and I also really like his collar.)

velazquez-juan-pareja

So I posted it!

Recently, I found a blank canvas that I had bought to do something with and decided to use  it to make a mini masterpiece for my desk. This is how I did it:

CM Screenshot

The canvas was 4X4 so I had to crop the image as a square.

Then I printed it out with borders on 4×6 photo paper.

CM supplies for mini masterpiece

I cut the extra white space using my rotary trimmer so that the edges were crisp.

CM first cut

I used dots to adhere it. (I have used Mod Podge in the past, but I am thinking I may be able to use the canvas for another picture since the dots are removable.)

CM glue dots

I bought a small easel from Michaels and there it is!

CM wide view mini masterpieceCM final close up mini masterpiece